Core Techniques
Click any tab to expand the full breakdown.
Grip Fundamentals

The grip is the only connection between you and the racquet. Getting it right from day one prevents bad habits that are hard to unlearn.
Continental Grip
Used for serve, volleys, and overhead. Hold the racquet as if shaking hands with it — bevel 2 for right-handers.
Serve · Volley · Overhead · Slice · All LevelsEastern Forehand Grip
Flat on bevel 3. Great for JC and Level 7 beginners — easier to achieve clean contact with a flat ball flight.
Flat Forehand · JC & L7 StartSemi-Western Forehand Grip
Palm slightly under the handle (bevel 4). Promotes topspin naturally — the target for Level 6+ players.
Topspin Forehand · L6+Eastern Backhand Grip
Knuckle on bevel 1 (one-handed) or continental + eastern for two-handed. Required for topspin backhand.
One-handed Backhand · Two-handed · L6+Full Western Forehand Grip
Palm fully under the handle (bevel 5). Generates heavy topspin — used by advanced players at Level 5 and above.
Heavy Topspin · L5+Coach Tip: Use the "shake hands" cue for continental and the "gun to the floor" cue to rotate into semi-western. Never squeeze — hold it like a small bird.
Grip Drills

Learn continental, eastern, semi-western, and western grips with hands-on demos — and when to use each one.
Essential Tennis · YouTube
Clear visual instruction on every tennis grip — which bevel, how to find it, and how each grip affects your shots.
Online Tennis Instruction · YouTubeForehand Groundstroke

The forehand is the primary weapon at every level. JC/L7 focus on contact and follow-through. L6 adds topspin. L5+ adds heavy spin, direction, and power.
Ready Position
Weight on toes, knees bent, racquet out front. Eyes on the incoming ball.
Split Step
As opponent strikes, hop and land with feet shoulder-width apart. This primes explosive movement.
Unit Turn
Rotate shoulders and hips together as a unit. Bring the non-dominant hand and racquet back simultaneously.
Low-to-High Swing Path
Drop the racquet head below the ball, then swing low-to-high through contact to generate topspin (L6+).
Contact Point
Strike the ball in front of the front hip, at roughly waist height. Arm slightly bent at contact.
Follow-Through
Finish with the racquet high over the non-dominant shoulder ("windshield wiper" for topspin) or across the body for flat.
🎯 Inside-Out Forehand (L4+)
When the ball lands to your backhand side and sits up, step around it and hit a forehand directed to the opponent's forehand corner. Creates severe angles and protects your stronger wing.
⚠ Common Mistakes
- Late contact: Ball gets behind the hip. Fix — earlier unit turn.
- Arm only: No hip/shoulder rotation. Fix — shadow swings leading with the hip.
- Stiff arm: Locking the elbow. Fix — keep a slight bend throughout.
- Wrong grip at contact: Grip slips during swing. Fix — check grip pressure.
Forehand Drills
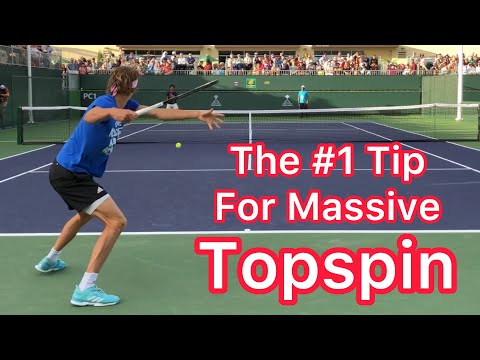
The single most important technique tip for generating massive, consistent topspin on your forehand.
2MinuteTennis · YouTube
Master both the flat and topspin forehand — how the swing path differs and when to use each shot.
Top Tennis Training · YouTubeBackhand Groundstroke

JC/L7 learn the two-handed backhand for stability. L6 adds topspin and slice. L5+ uses the backhand as a directional weapon.
Two-Handed Grip Setup
Dominant hand in eastern backhand grip (bevel 1), non-dominant hand above in eastern forehand grip.
Early Preparation
As soon as ball crosses the net, rotate away — both hands on the racquet, weight shifting to the back foot.
Hip Drive
Drive the front hip toward the target to generate power. The non-dominant arm pulls through as the lead force.
Contact Point
Ball struck in front of the body at waist height. Racquet face slightly closed at contact for topspin.
Follow-Through
Finish high — racquet ends up over the front shoulder, both arms extended. Hips fully rotated to face the net.
🍰 Slice Backhand (L6+)
Switch to continental grip. High-to-low swing — racquet brushes under the ball. Great for defensive shots, approach shots, and breaking up rhythm. At L4+, the slice becomes a weapon for angled approaches.
⚠ Common Mistakes
- Pulling the left hand off too early: Causes the ball to go wide. Keep both hands on until after contact.
- Too much arm: Not using the hip/shoulder. Fix — shadow swings leading with the hip.
- Too late: Contacting beside or behind the body. Fix — turn earlier.
Backhand Drills

Complete breakdown of two-handed backhand mechanics with slow-motion analysis from a world-class coach.
Patrick Mouratoglou · YouTube
Master the two-handed backhand with a simple 3-step framework: unit turn, low-to-high swing, and follow-through.
Top Tennis Training · YouTubeThe Serve

JC begins with underhand or beginner overhand. L7 learns trophy position. L6 develops a flat serve. L5+ adds topspin and kick. L4+ uses all three types with placement.
Stance & Grip
Stand sideways at the baseline. Use continental grip — critical for long-term development at every level.
Ball Toss
Hold the ball with fingertips. Toss to 1 o'clock, roughly 12–18 inches above contact. Practice this separately.
Trophy Position
As the ball rises, bend the knees and load weight back. Racquet arm forms an L-shape. Both eyes on the ball.
Leg Drive
Extend the knees to drive upward as you swing. The serve is a full-body shot, not just an arm swing.
Contact & Pronation
Strike at full arm extension. Pronate the forearm (like tightening a screwdriver) for pace and spin control.
Follow-Through
Finish with the racquet arm crossing to the opposite hip. Land inside the baseline on the front foot.
🔄 Kick Serve (L5+)
Toss slightly behind your head (11 o'clock). Swing upward and to the right with heavy brush. The ball kicks up high after the bounce — use as a reliable second serve at L5+ and as a weapon at L3+.
⚠ Common Mistakes
- Wrong grip: Eastern forehand on serve limits pronation and ceiling height.
- Inconsistent toss: The single biggest cause of double faults. Isolate toss practice daily.
- No leg drive: Serving only with the arm. Practice "trophy jump" drills.
- Elbow drop: Dropping the elbow in the backswing. Keep the elbow high (L-shape).
Serve Drills

Complete beginner serve masterclass — stance, ball toss, trophy position, and full swing path step by step.
Top Tennis Training · YouTube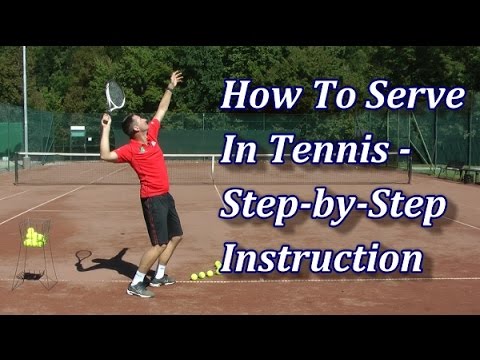
The most-watched tennis serve tutorial — 4.8M views. Seven clear steps from start to follow-through.
Feel Tennis · YouTubeVolley

Volleys are punch shots hit before the ball bounces. The key is a compact, firm-wristed block with continental grip. At L4+, volleys become point-enders.
Continental Grip (Always)
Both forehand and backhand volleys use continental grip. No grip switch — makes volleying faster and more reliable.
Ready Position at Net
Stand 2–3 feet inside the service line. Knees bent, weight on toes, racquet out front at chest height.
Split Step
As your opponent strikes, split step to load your legs and react in any direction.
Punch & Block
Step forward as you make contact. Compact punch — no backswing. Firm wrist throughout.
Angle & Placement
Open face slightly for low balls, flatter for high balls. Direct cross-court or into open space.
🎯 Approach Shot → First Volley (L6+)
When a short ball sits up, attack with a deep approach shot, then close immediately. Split step as your opponent hits and punch the first volley. At L4+, refine to the "swinging volley" on high balls above the net.
⚠ Common Mistakes
- Too much backswing: Causes late contact. Keep the racquet in front, punch only.
- Wrong grip: Switching to forehand grip. Drill with continental only.
- Standing still: Not stepping through. Practice "step and punch" footwork.
- Too far from net: Volleying from no-man's land. Move up to just inside the service line.
Volley Drills
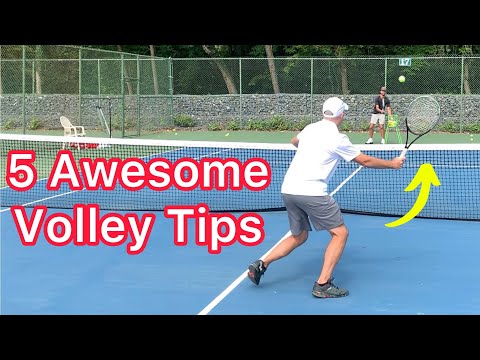
5 technique tips for crisper, more controlled forehand and backhand volleys — compact swing, firm wrist, early prep.
2MinuteTennis · YouTube
Simplify your volley with 3 clear checkpoints. Great for players learning net play from Level 6 onward.
Top Tennis Training · YouTubeReturn of Serve

The return is the second most important shot in tennis. L6 focuses on consistency cross-court. L5+ begins applying direction. L4+ turns returns into weapons.
Starting Position
Stand near the baseline corner, 1–2 feet behind the baseline. Weight on toes, knees bent.
Read the Toss
Watch the server's ball toss to predict direction (wide, body, T). A toss far right hints wide; centered hints T or body.
Split Step at Ball Strike
Hop and land right as the server's racquet makes contact. This is critical — time the split step to the server, not the ball.
Compact Backswing
Use a shorter backswing than a groundstroke — the serve is already coming with pace. Unit turn is still essential.
Block or Drive
Against fast serves, use a blocking motion (short swing). Against slower serves, drive through with a regular groundstroke.
Direction & Recovery
Aim cross-court (safer target, larger court). After the return, immediately recover to the center baseline.
First Priority: Get the ball back in play. Consistency beats aggression on returns at L6–7. A return that lands in is always better than an error.
⚠ Common Mistakes
- Too big a backswing: Ball arrives before the swing completes. Shorten to a compact unit turn.
- No split step: Caught flat-footed. Rehearse the timing sequence daily.
- Trying for a winner: Overaggressive error. Aim cross-court, 3 feet over the net.
Return Drills

1.8M views. Patrick Mouratoglou's complete guide to reading the serve, split step timing, and executing the return.
Patrick Mouratoglou · YouTube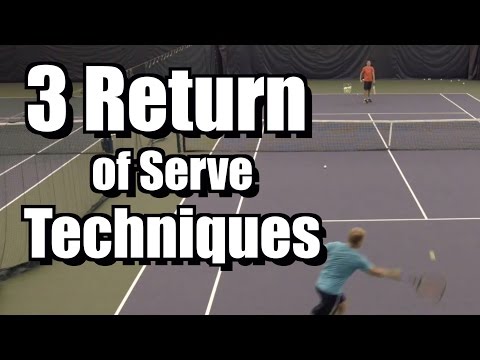
Three return of serve techniques — block return, full swing, and chip — with drills for each situation.
Essential Tennis · YouTubeAdvanced Shots
At L5+, three new shots become essential: the overhead smash, the drop shot, and the defensive lob. Each requires specific mechanics and situational awareness.
🏸 Overhead Smash
Read the Lob Early
As soon as you see the ball go high, turn sideways and move back quickly with crossover steps — never backpedal.
Continental Grip
Same grip as the serve. Set the racquet in a "back scratch" position as you move into position.
Non-Dominant Arm Up
Point at the ball with your non-hitting arm to track it. Keeps your shoulder turned and eyes locked on the ball.
Drive Up & Pronate
Explode upward, striking the ball at full arm extension. Pronate through contact — same as the serve motion.
🪶 Drop Shot
Disguise the Setup
Begin as if hitting a regular groundstroke. Reveal the drop shot as late as possible at contact.
Continental Grip, Soft Hands
Open racquet face, gentle high-to-low brush under the ball. Absorb the incoming pace — barely swing.
Aim Short & Angled
Land the ball close to the net, angled away from your opponent. Backspin keeps it from bouncing deep.
🌈 Defensive Lob
When to Use
Use when pushed deep or wide — a lob buys recovery time and resets the point.
Open Racquet Face
Keep your normal grip. Open the face significantly, swing upward — generating a high arc at least 15 feet over the net.
Target Deep
Land in the back 3 feet of the opponent's court. Use the time the lob buys to recover to center baseline.
Smash Rule: If the lob is short, smash. If it's deep and you're on the run, lob it back and reset. Never attempt a smash off balance.
Advanced Shot Drills

Complete overhead smash breakdown — footwork, positioning under the ball, swing path, and timing from a world-class coach.
Patrick Mouratoglou · YouTube
How to hit a disguised, effective drop shot — grip, open face, disguise, and touch — that wins points at L5+.
Patrick Mouratoglou · YouTubeTactics & Patterns
At L4+, winning isn't just about technique — it's about constructing points. These patterns form the tactical foundation of competitive junior tennis.
⚡ Serve + 1 Pattern
Deuce: Serve Wide → FH Attack
Serve wide, pulling the opponent off court. Their return comes back to your forehand side — attack the open court.
Deuce: Serve T → Inside-Out FH
Serve down the T, opponent returns toward center. Step around and hit inside-out forehand to the open court.
Ad: Serve T → BH Attack
Serve down the T to the opponent's forehand. They return middle — drive a backhand down the line or crosscourt.
🔁 3-Ball Pattern
Shot 1 — Setup
Hit deep to the opponent's weaker side (usually backhand). Push them back behind the baseline.
Shot 2 — Force
Hit behind the opponent as they recover. They expect you to go wide — wrong-foot them instead.
Shot 3 — Finish
Put away the winner to the open court, or drop shot if opponent is deep behind the baseline.
🤝 Doubles Net Positioning
Volley Position
Stand 2 feet inside the service line, centered in your half of the court. Ready to intercept any crosscourt return.
Move Up After Deep Ball
When your partner hits a deep serve or groundstroke, move forward to close the net and cut off the angle.
Poach
Step diagonally across when you read a predictable crosscourt return. Communicate with hand signals before the point.
Point Construction: At L3+, aim for 5-ball patterns before going for a winner. Forcing an error is as valuable as hitting a winner — be patient and construct.
⚠ Common Tactical Mistakes
- No plan: Hitting to no specific target. Fix — decide your shot before the point starts.
- Going for too much: Low-percentage winners from neutral positions. Fix — move the opponent first.
- Ignoring the opponent's weakness: Fix — identify it in the first 2 games and exploit it.
- Changing a winning game: If a pattern is working, keep running it until the opponent solves it.
Tactical Drills

991K views. The fundamentals of tennis tactics — cross-court rallying, opening the court, and constructing points.
Patrick Mouratoglou · YouTube
Five simple, high-percentage singles strategies that work at every club level — from L7 beginners to L3 competitors.
2MinuteTennis · YouTube


